36 Hats to Crochet Easy Pattern Instructions
Hat Pattern using a Double Crochet
All hats are worked by making double crochets in the back loop only starting with the second row. I use a G hook for babies and childrens hats, and a H hook for adult hats. Here is my pattern.
Baby's size (baby yarn) Chain about 30 and work 25 rows.
Child's size (sport or worsted) Chain about 38 and make 30 rows.
Adult size (worsted) Chain about 45 and make 38 to 40 rows.
The side edges of the finished pieces are sewn together (fastening ends). Then run yarn through the stitches of one edge, draw up tightly and tie securely. Roll up a brim and add pompons if desired.
One skein is enough for a baby's hat. Usually use 3.5 ounces for a child's hat and 4 to 4.5 for an adult hat.
Hat Pattern using a Single Crochet
Use knitting worsted-weight yarn and a size J hook, but you can use any yarn you wish with a hook size suitable for your choice of yarn.
First, work a chain for the desired length of the cap from top to bottom, plus an extra inch or two for a turned up cuff. For a starting point, you might try working a chain of about 9 1/2 to 10 inches. After seeing how this fits, try to adjust the length of your chain. The entire cap is done in single crochet worked through the back loop of each stitch.
For the first row, work a single crochet in the second chain from hook and in each remaining chain. Chain 1 and turn.
On row 2, work a single crochet in each stitch of the previous row to within four stitches of the end. Do not work any stitches in these last four stitches. Chain 1 and turn.
Row 3: sc to the end of the row. Chain 1 and turn.
Row 4: Work a single crochet in all stitches, including the skipped stitches of Row 2. Chain 1 and turn.
Row 5: Single crochet to the end of the row. Chain 1 and turn.
Repeat Row 2 through 5 over and over, until the cap is wide enough to fit around the head.
The end where you have been skipping stitches and then working the skipped stitches 2 rows later, will be the shaped top of the cap, so the opposite end will be the bottom, which will be the one you will want to have wide enough to fit around the head.
When the desired width is reached, end with the completion of Row 3 of the pattern and sew the side edges together. If you wish, top the cap off with a PomPon.
With knitting worsted-weight yarn, you can get a cap out of approximately 2 ounces of yarn. If you have a lot of leftovers, you could stripe the cap by changing colors on every fourth row. With other yarns and hooks, you might need more or less yarn.
36 Easy Hats to Crochet
 One day I went to the thrift store and found a brochure for how to crochet some easy hats. This brochure was out of a Women's Day Magazine from October 1973. I couldn't believe my luck!
One interesting thing is that on the front of the brochure it says these pattern instructions can only be used for charitable purposes. So they are not to be sold, just given away to friends, family, etc. Have fun making some hats!
The brochure is called, "36 Go Fast Hats To Crochet." So there are 36 different styles to choose from. Some are easy, some are not so easy.
Crocheting Abbreviations Explained
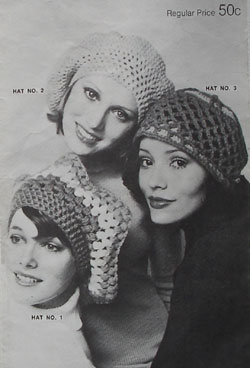
Crocheted Hat #1 - Crocheted hat #1 picture
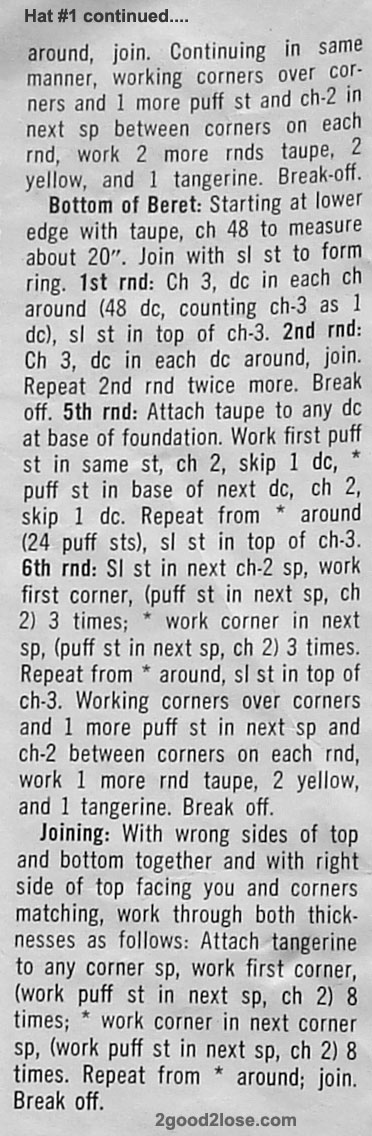
Hat #1 page 1 instructions
Hat #1 page 2 instructions
Crocheted Hat #2 - Crocheted hat #2 picture
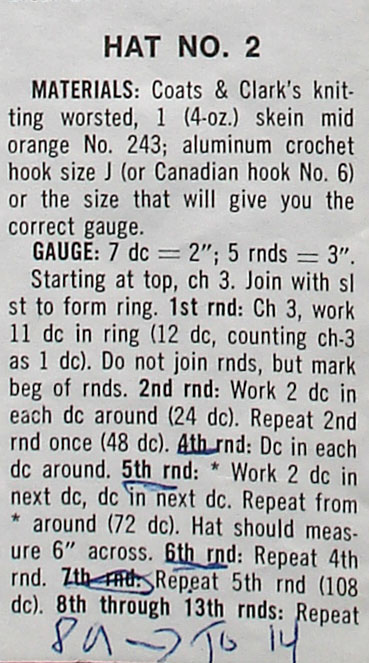
Hat #2 page 1 instructions
Hat #2 page 2 instructions
Crocheted Hat #3 - Crocheted hat #3 picture
Hat #3 page 1 instructions
Hat #3 page 2 instructions
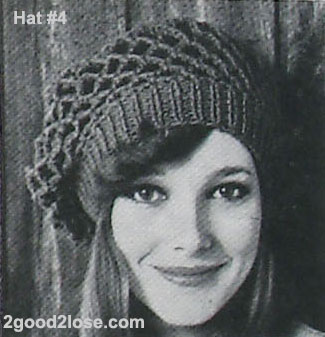
Crocheted Hat #4 - Crocheted hat #4 picture
Hat #4 page 1 instructions
Hat #4 page 2 instructions
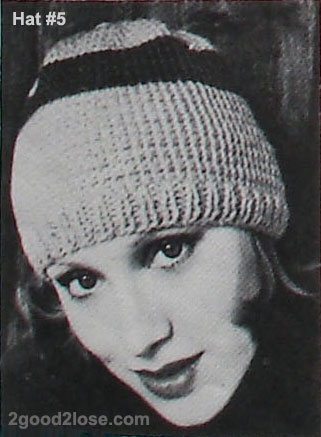
Crocheted Hat #5 - Crocheted hat #5 picture
Hat #5 page 1 instructions
Hat #5 page 2 instructions
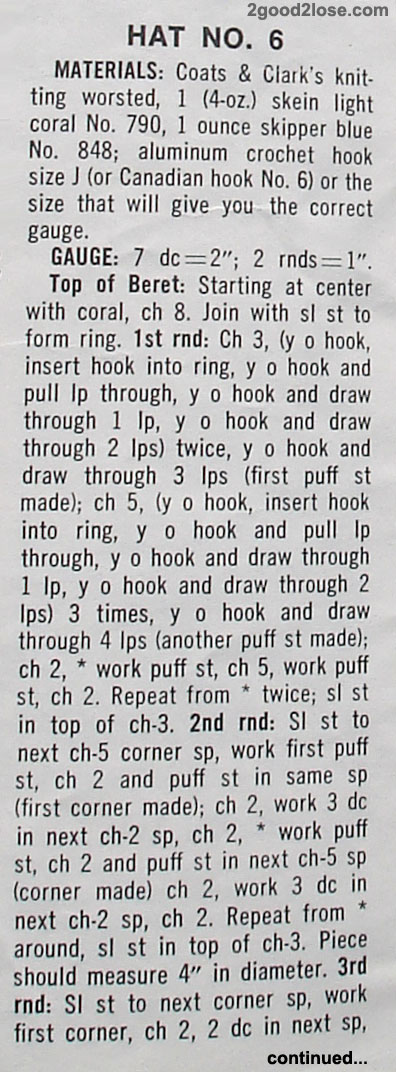
 Crocheted Hat #6 -
Crocheted hat #6 picture
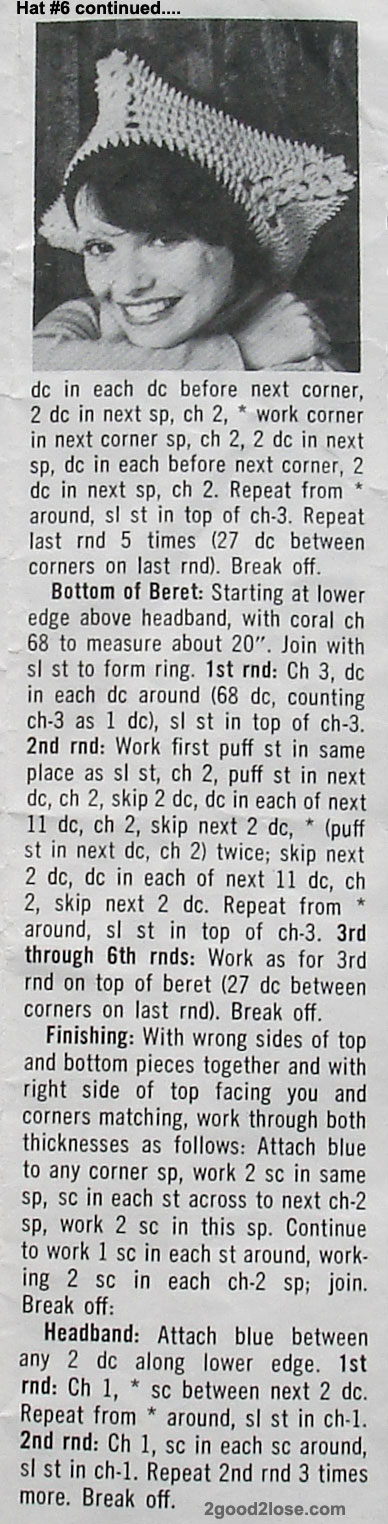
Crocheted Hat #6 -
Crocheted hat #6 picture
Hat #6 page 1 instructions
Hat #6 page 2 instructions
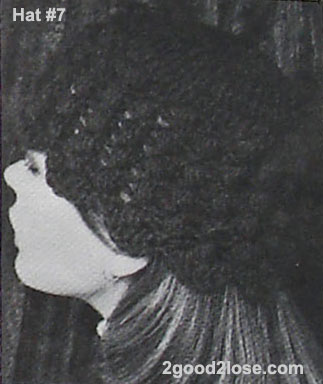
Crocheted Hat #7 - Crocheted hat #7 picture
Hat #7 page 1 instructions
Hat #7 page 2 instructions
Crocheted Hat #8 - Crocheted hat #8 picture
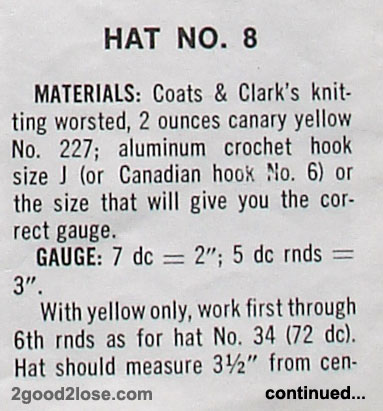
Hat #8 page 1 instructions
Hat #8 page 2 instructions
Crocheted Hat #9 - Crocheted hat #9 picture
Hat #9 page 1 instructions
Hat #9 page 2 instructions
Crocheted Hat #10 - Crocheted hat #10 picture
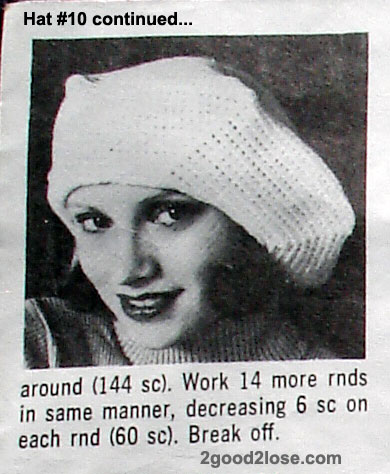
Hat #10 page 1 instructions
Hat #10 page 2 instructions
Crocheted Hat #11 - Crocheted hat #11 picture
Hat #11 instructions
Crocheted Hat #12 - Crocheted hat #12 picture
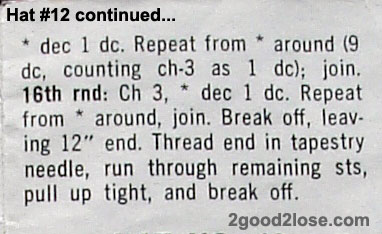
Hat #12 page 1 instructions
Hat #12 page 2 instructions
 Crocheted Hat #13 - Crocheted hat #13 picture
Hat #13 page 1 instructions
Hat #13 page 2 instructions
Crocheted Hat #14 - Crocheted hat #14 picture
Hat #14 page 1 instructions
Hat #14 page 2 instructions
Crocheted Hat #15 - Crocheted hat #15 picture
Hat #15 page 1 instructions
Hat #15 page 2 instructions
Crocheted Hat #16 - Crocheted hat #16 picture
Hat #16 page 1 instructions
Hat #16 page 2 instructions
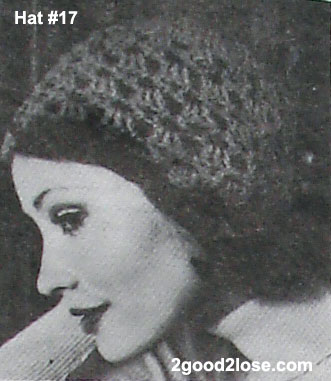
Crocheted Hat #17 - Crocheted hat #17 picture
Hat #17 page 1 instructions
Hat #17 page 2 instructions
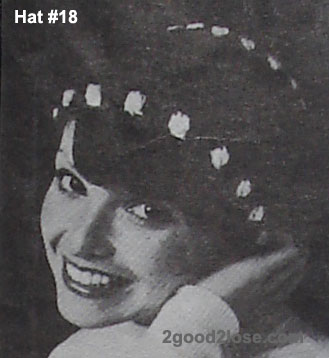
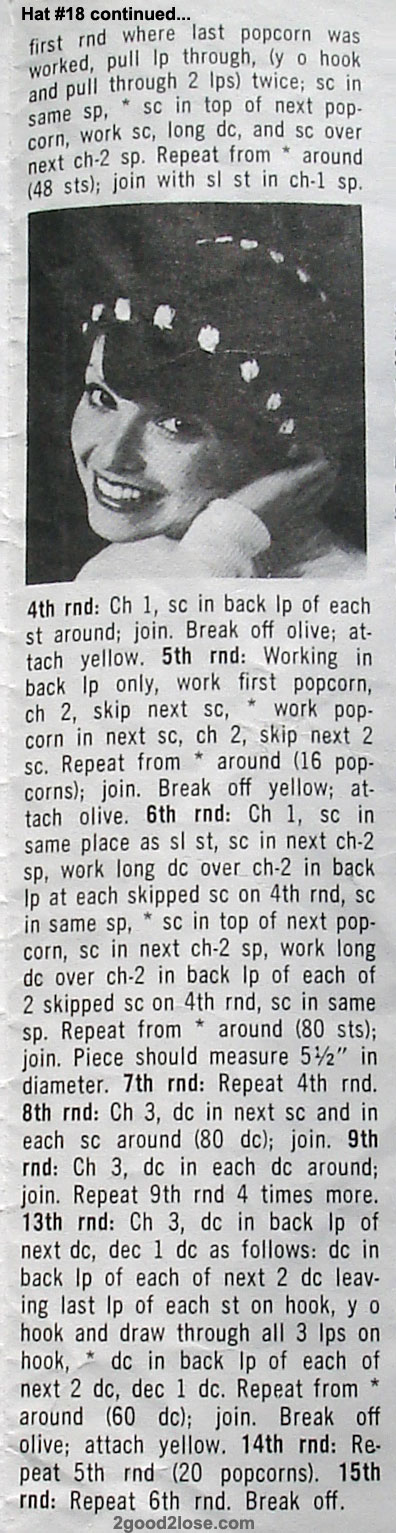
Crocheted Hat #18 - Crocheted hat #18 picture
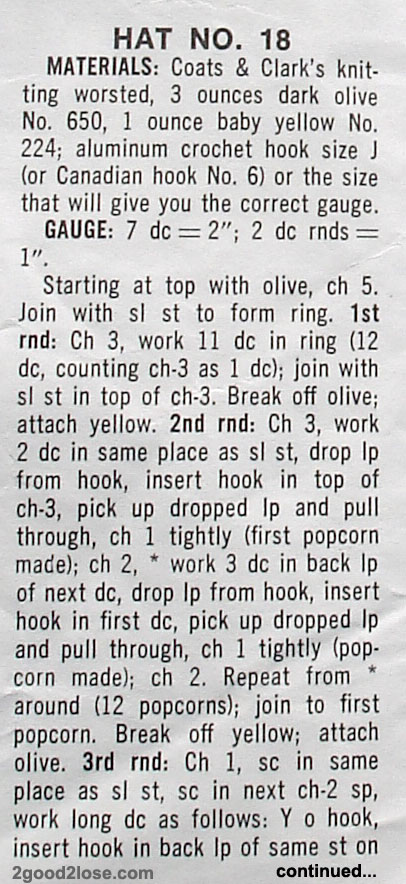
Hat #18 page 1 instructions
Hat #18 page 2 instructions
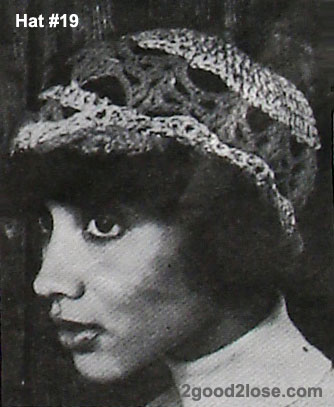
Crocheted Hat #19 - Crocheted hat #19 picture
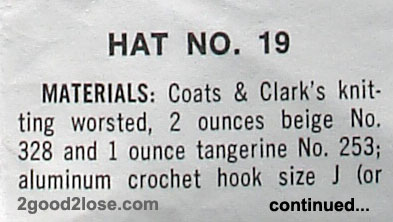
Hat #19 page 1 instructions
Hat #19 page 2 instructions
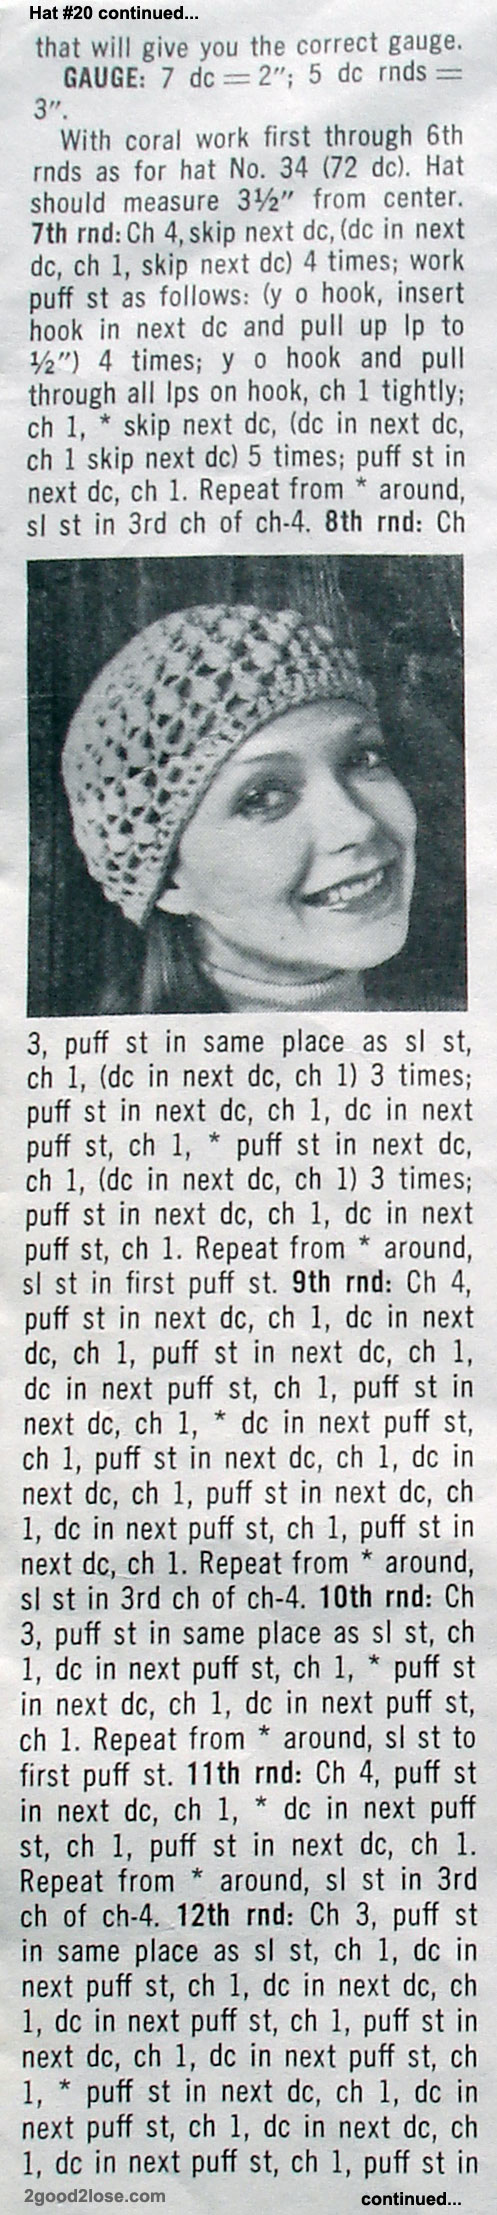
Crocheted Hat #20 - Crocheted hat #20 picture
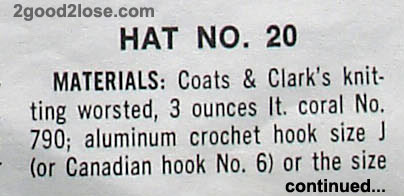
Hat #20 page 1 instructions
Hat #20 page 2 instructions
Hat #20 page 3 instructions
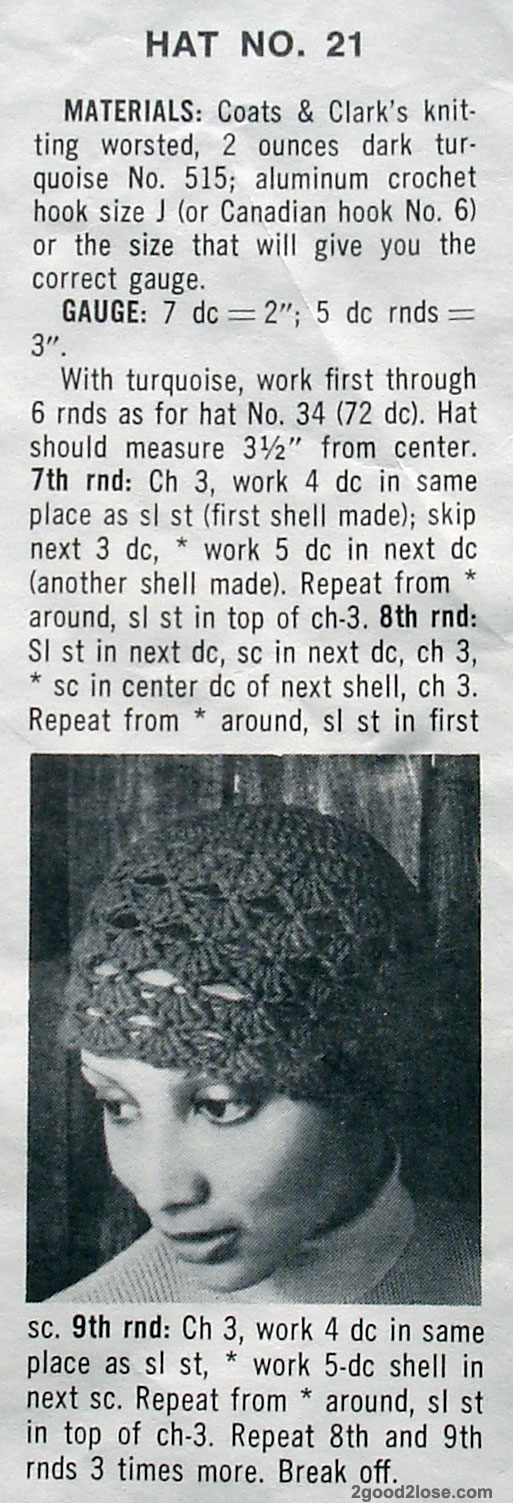
Crocheted Hat #21 - Crocheted hat #21 picture
Hat #21 instructions
 Crocheted Hat #22 - Crocheted hat #22 picture
Hat #22 page 1 instructions
Hat #22 page 2 instructions
Crocheted Hat #23 - Crocheted hat #23 picture
Hat #23 instructions
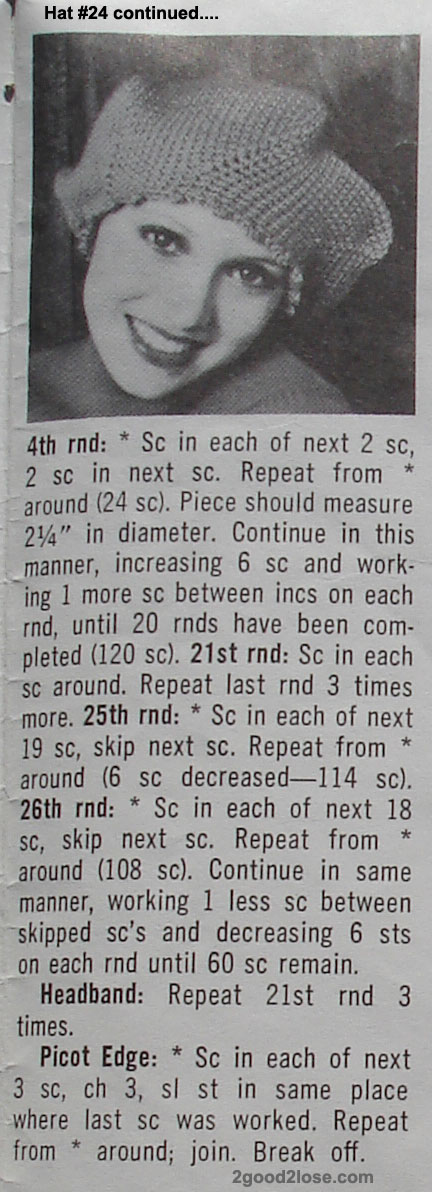
Crocheted Hat #24 - Crocheted hat #24 picture
Hat #24 page 1 instructions
Hat #24 page 2 instructions
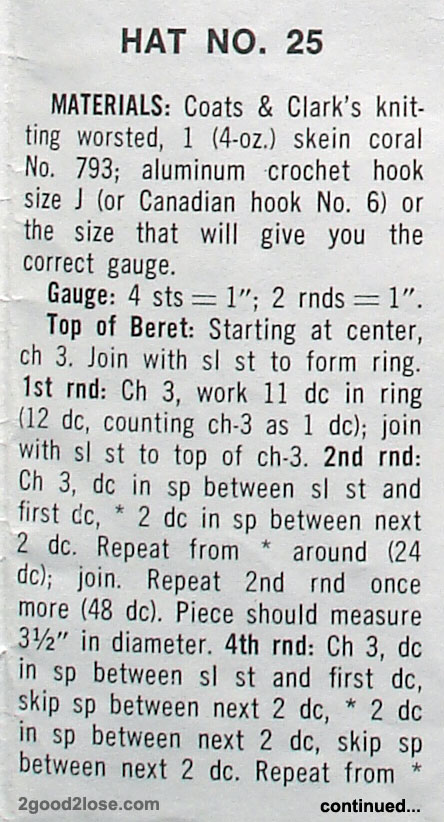
Crocheted Hat #25 - Crocheted hat #25 picture
Hat #25 page 1 instructions
Hat #25 page 2 instructions
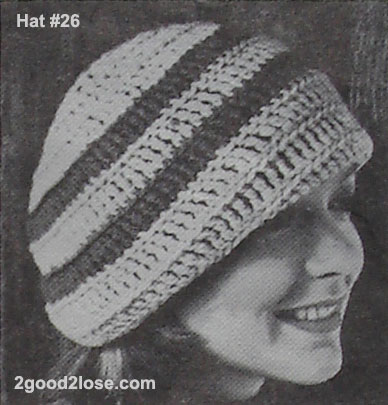
Crocheted Hat #26 - Crocheted hat #26 picture
Hat #26 page 1 instructions
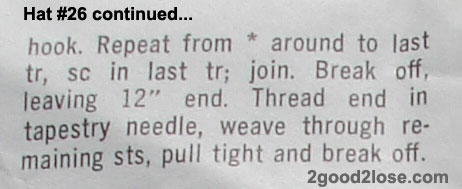
Hat #26 page 2 instructions
Crocheted Hat #27 - Crocheted hat #27 picture
Hat #27 instructions
Crocheted Hat #28 - Crocheted hat #28 picture
Hat #28 page 1 instructions
Hat #28 page 2 instructions
Hat #28 page 3 instructions
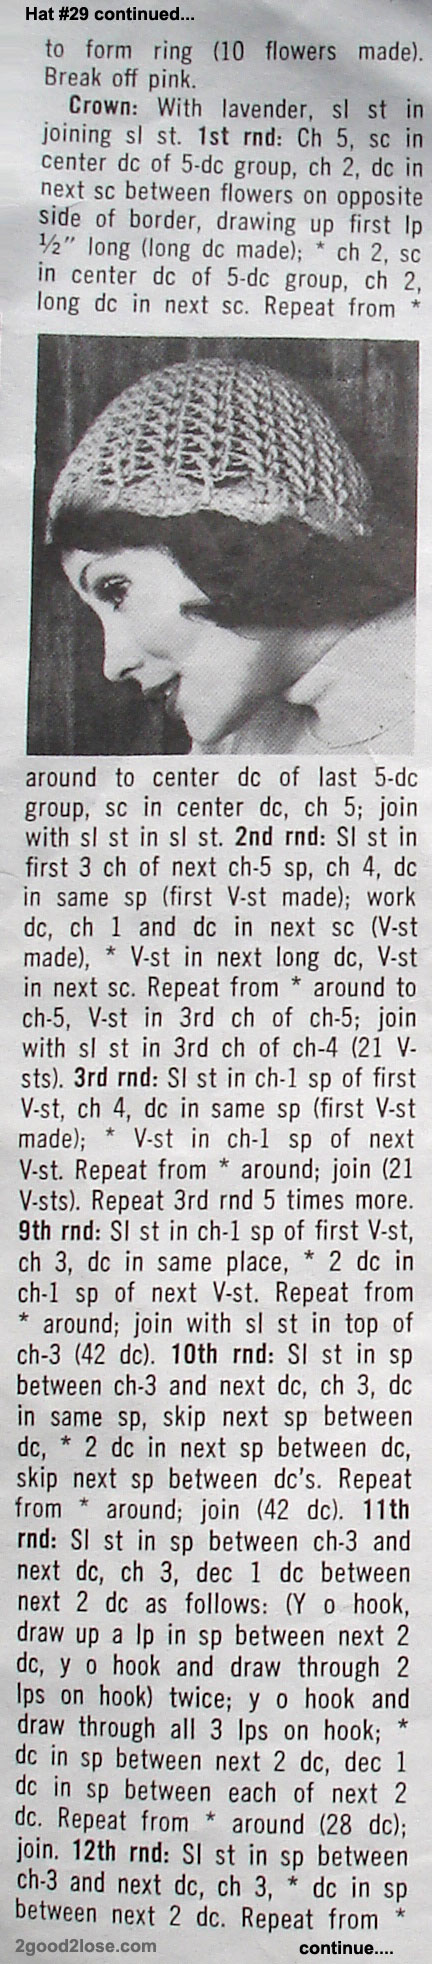
Crocheted Hat #29 - Crocheted hat #29 picture
Hat #29 page 1 instructions
Hat #29 page 2 instructions
Hat #29 page 3 instructions
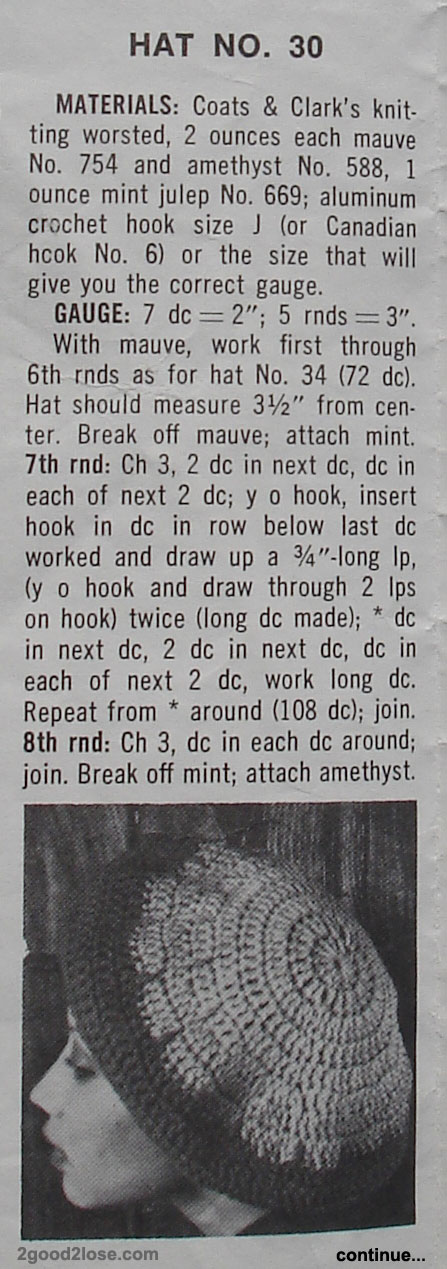
 Crocheted Hat #30 - Crocheted hat #30 picture
Hat #30 page 1 instructions
Hat #30 page 2 instructions
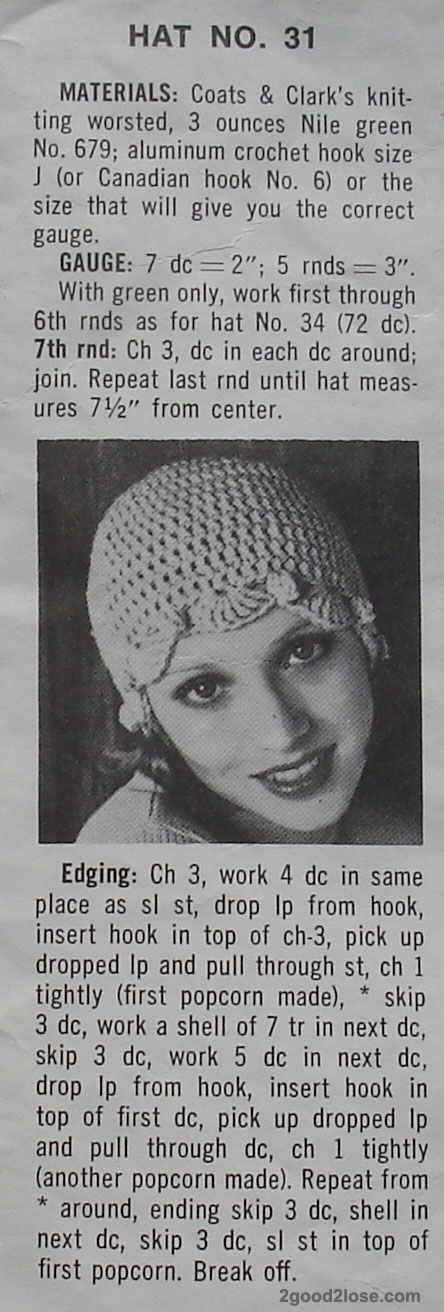
Crocheted Hat #31 - Crocheted hat #31 picture
Hat #31 instructions
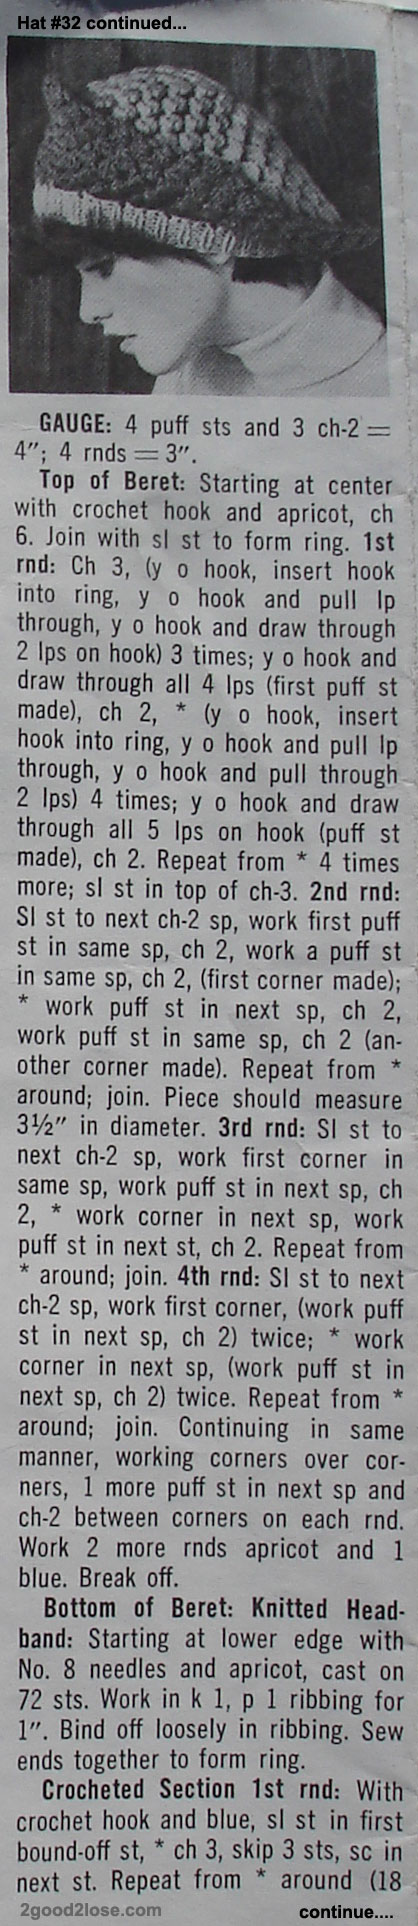
Crocheted Hat #32 - Crocheted hat #32 picture
Hat #32 page 1 instructions
Hat #32 page 2 instructions
Hat #32 page 3 instructions
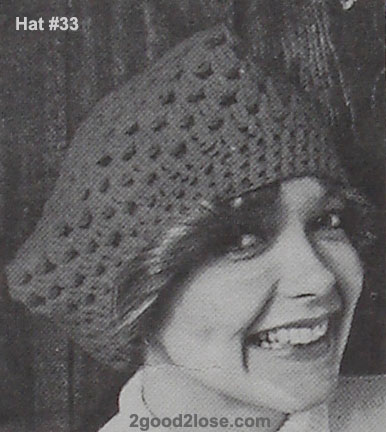
Crocheted Hat #33 - Crocheted hat #33 picture
Hat #33 page 1 instructions
Hat #33 page 2 instructions
Crocheted Hat #34 - Crocheted hat #34 picture
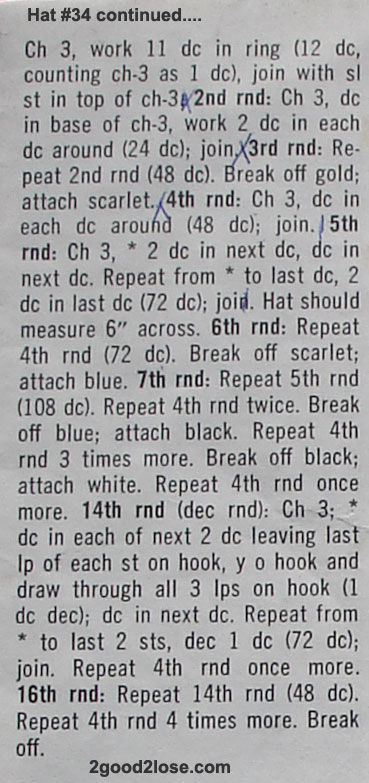
Hat #34 page 1 instructions
Hat #34 page 2 instructions
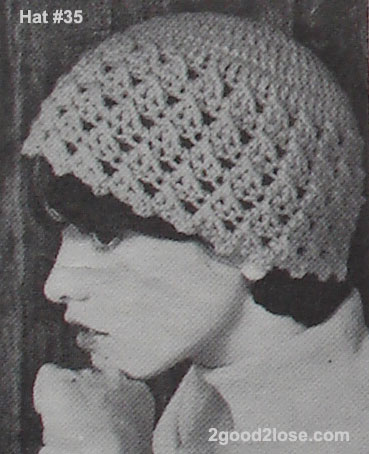
Crocheted Hat #35 - Crocheted hat #35 picture
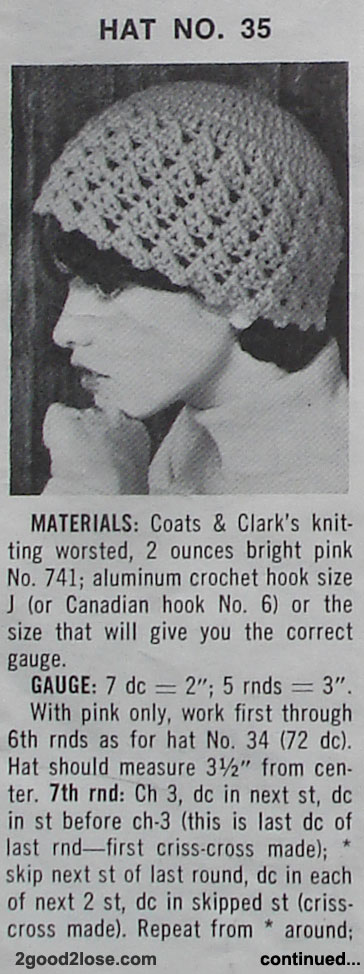
Hat #35 page 1 instructions
Hat #35 page 2 instructions
Crocheted Hat #36 - Crocheted hat
#36 picture
Hat #36 instructions
Crochet a Scarf
Size N crochet hook - Super bulky weight boucle yarn - Ch 14.
Row 1: (right side): Sc in 2nd ch from hook and across; ch 3, turn: 13 sc.
Row 2: Dc in each sc; ch 1, turn.
Row 3: Sc in each dc: ch 3, turn.
Repeat Rows 2 and 3 until scarf measures 60 inches, ending by working a wrong-side row; turn; do not finish off.

Add the Fringe
First End: Ch 10; *sc in next sc, ch 10; rep from * to end, join in last sc. Finish off.
Opposite End: With right side facing, join yarn in next unused lp of beg ch, ch 10; *sc in next unused lp, ch 10; rep from * to end, join in last unused lp. Finish off; weave in ends.
How to Crochet
Learn to Crochet
Make a ChainStitch
Single Crochet
Double Crochet
Crochet Ornaments
Animal Ornaments
Potholder Ideas
Crochet a Circle
Crochet a Triangle
Crochet a Cross
Crochet Mittens
Crochet a Rug